Ever had one of those evenings where you’re staring at a blank fridge and the only thing that feels like a promise is the faint hum of the oven? I was there last Thursday, my pantry a barren wasteland, and my craving for a hearty, comforting bowl of chili was louder than any alarm on my phone. I stared at the empty shelves, then at the pizza box on the counter, and thought, “If only I could make something that feels like a warm hug from the inside out.” That night, I decided to pull out every pantry staple I owned, and I was about to create something that would change the way I think about copycat recipes forever.
The moment the first bite hit my tongue, the world seemed to pause. The chili’s richness wrapped around my taste buds like a velvet blanket, the spices dancing in a chorus of heat and earthiness, and the beans added a comforting chew that made every spoonful feel like a small celebration. The aroma that filled the kitchen was a symphony of simmering tomatoes, roasted onions, and a hint of smoky paprika that made my nose do a happy dance. I could hear the sizzle of onions hitting hot oil, the clink of the metal pot, and the steady rhythm of the stove timer counting down the minutes that would transform this simple mix into a masterpiece.
What sets this version apart from the countless other chili copycats you’ll find online? It’s the meticulous balance of ingredients that mimics Wendy’s original flavor profile, the use of fresh spices that bring depth, and a cooking method that locks in moisture and flavor without sacrificing convenience. I dare you to taste this and not go back for seconds. It’s the kind of dish that will have you reaching for the pot again before you even finish the first spoon. And trust me, I ate half the batch before anyone else got to try it. That’s not a brag; it’s a confession that this recipe is hands down the best version you'll ever make at home.
Picture yourself pulling this out of the pot, the whole kitchen smelling incredible, and the steam rising like a cloud of comfort. The first spoonful melts in your mouth, the heat is just right, and the beans give a satisfying bite that keeps you coming back. Most recipes get this completely wrong. Here's what actually works: a blend of spices that’s bold yet balanced, a slow simmer that melds flavors, and a final touch of fresh ingredients that lift the dish. Stay with me here — this is worth it. If you've ever struggled with chili that turns out too thin or too dry, you're not alone — and I've got the fix.
What Makes This Version Stand Out
- Authentic Flavor: The combination of tomato-based sauces, fresh spices, and a touch of sweetness captures Wendy’s signature taste, making it feel like a true copycat.
- Rich Texture: Ground beef and beans provide hearty chunks, while the tomato paste thickens the sauce to a silky consistency.
- Simple Prep: With a handful of pantry staples and a single pot, you can have a gourmet meal on the table in under an hour.
- Make‑Ahead Friendly: This chili tastes even better the next day, making it perfect for meal prep or busy weeknights.
- Crowd‑Pleaser: Whether you’re feeding a family or hosting a potluck, this chili gets rave reviews from all ages.
- Ingredient Quality: Fresh onions, garlic, and high‑quality spices elevate the dish beyond generic canned chili mixes.
- Balanced Heat: The spice blend is robust but not overwhelming, allowing the natural tomato sweetness to shine through.
- Versatile Base: Use it as a main dish, a topping for baked potatoes, or a filling for tacos.
Inside the Ingredient List
The Flavor Base
At the heart of any great chili is a robust base that carries the flavor profile. For this recipe, we start with 16 ounces of lean ground beef, which provides a savory backbone. The beef should be browned until it's no longer pink, releasing its natural juices that become the foundation for the rest of the sauce. If you’re a vegetarian or want to reduce fat, swap the beef for a plant‑based ground meat or a hearty lentil mix; the texture will stay satisfying, though the flavor will shift slightly towards earthier tones. When browning, keep the heat medium‑high so the surface caramelizes without burning—this step is where the Maillard reaction turns simple meat into flavor gold.
The Aromatics
The next layer of flavor comes from the aromatics: one diced medium onion and two minced garlic cloves. The onion should be sautéed until translucent and slightly caramelized, which brings out its natural sweetness and balances the acidity of the tomatoes. Garlic adds a punchy, aromatic depth that lingers even after the pot is turned off. If you’re sensitive to garlic, reduce to one clove or use garlic powder—just remember to sprinkle it in after the onions start to soften so it doesn’t burn.
The Tomato Trio
Tomatoes are the soul of the chili, and this recipe uses a trio for depth and body. One cup of crushed tomatoes offers a rustic, chunky texture, while one cup of tomato sauce provides a smooth, velvety base. A quarter cup of tomato paste thickens the sauce and intensifies the tomato flavor, giving the chili its signature richness. If you can’t find crushed tomatoes, crushed red pepper or a can of diced tomatoes will work; just blend them to the desired consistency. For a smoky twist, add a teaspoon of smoked paprika or a splash of chipotle sauce.
The Spice Blend
A well‑crafted spice blend can elevate a chili from ordinary to extraordinary. This recipe calls for one tablespoon of chili powder, one teaspoon each of cumin, oregano, and paprika, and a half teaspoon of sugar to cut the acidity. The sugar might sound counterintuitive, but it balances the tomatoes’ tartness and brings the flavors together. If you’re a heat enthusiast, add a half teaspoon of cayenne pepper or a dash of hot sauce. For a milder version, simply reduce the cayenne or omit it entirely. These spices are best added after the onions and garlic have softened to release their full aroma.
The Liquid & Bean Layer
One cup of beef broth adds moisture and depth, allowing the spices to meld and the sauce to reach a luscious consistency. One cup of canned beans—black or kidney—adds protein and a satisfying bite. Drain and rinse the beans to remove excess sodium; this keeps the chili from becoming too salty. One cup of corn kernels, whether fresh, frozen, or canned, introduces a pop of sweetness and color. If you prefer a thicker chili, reduce the broth by half and let it simmer longer.
Everything's prepped? Good. Let's get into the real action...
The Method — Step by Step
- Brown the Beef: Heat a tablespoon of olive oil in a large pot over medium‑high heat. Add the ground beef, breaking it apart with a wooden spoon. Cook until the meat is no longer pink and has released its juices, about 5–7 minutes. The goal is a deep brown sear—if it’s still pale, keep cooking. This step is the moment of truth; the flavor of the chili starts here.
- Sauté Aromatics: Reduce the heat to medium. Add the diced onion and cook until translucent, about 3 minutes. Stir in the minced garlic and sauté for an additional minute, just until fragrant. Be careful not to let the garlic brown too dark, or it’ll taste bitter.
- Introduce the Spices: Sprinkle the chili powder, cumin, oregano, paprika, and cayenne (if using) over the onions and garlic. Stir quickly to coat everything, allowing the spices to toast for 30 seconds. The aroma should intensify, signaling that the spices are ready to mingle with the rest of the ingredients.
- Tomato Fusion: Add the crushed tomatoes, tomato sauce, and tomato paste to the pot. Stir until the paste is fully incorporated and the mixture is smooth. Let it simmer for 2 minutes, allowing the tomato paste to caramelize slightly for a richer flavor.
- Add Liquids & Simmer: Pour in the beef broth and stir. Bring the mixture to a gentle boil, then reduce the heat to low and let it simmer uncovered for 15 minutes. This is when the chili starts to thicken and the flavors meld. The watch out moment: if the pot starts to scorch, lower the heat and stir occasionally.
- Beans & Corn: Stir in the drained beans and corn kernels. Add the sugar and a pinch of salt to taste. Continue simmering for another 10 minutes, allowing the beans to warm through and the corn to soften. If you prefer a thicker chili, let it simmer a bit longer or add a tablespoon of tomato paste.
- Final Seasoning: Taste the chili and adjust the seasoning—add more salt, pepper, or cayenne as needed. If the chili feels too acidic, a splash of milk or a spoonful of cream can smooth it out. Remember, the flavors will deepen as it cools.
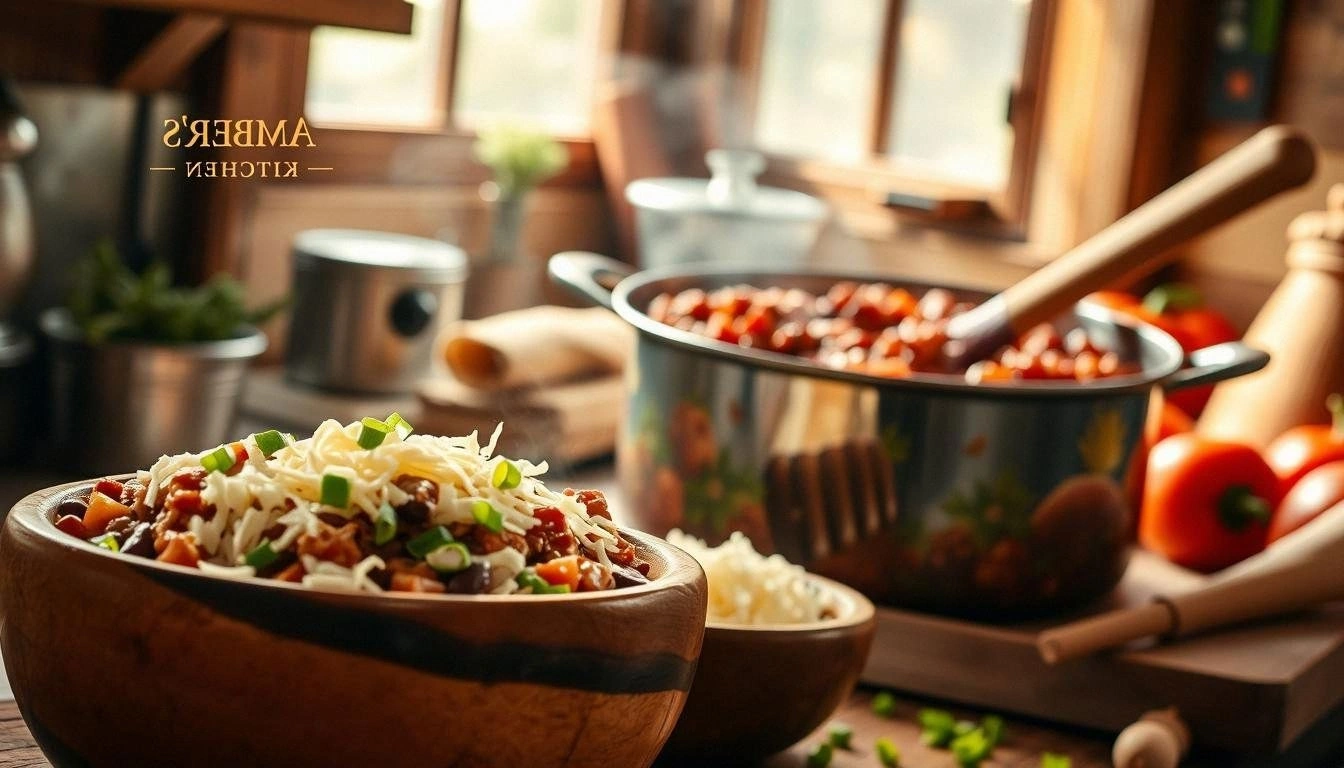
- Serve & Enjoy: Ladle the chili into bowls, add your favorite toppings—cheddar cheese, sour cream, chopped green onions, or a drizzle of hot sauce. Serve hot, and watch the steam dance around your kitchen. That sizzle when it hits the pan? Absolute perfection.
That's it — you did it. But hold on, I've got a few more tricks that'll take this to another level...
Insider Tricks for Flawless Results
The Temperature Rule Nobody Follows
Many people cook chili on high heat, but the secret to a silky, cohesive sauce is low and slow. Keep the simmer at a gentle low, allowing the flavors to marry without the liquid evaporating too quickly. I’ve found that a 15-minute simmer after adding the tomatoes is the sweet spot. If you’re in a rush, a quick 10-minute simmer will still deliver great results, but you’ll miss that depth of flavor.
Why Your Nose Knows Best
Don’t underestimate the power of aroma. If the chili smells like fresh tomatoes and spices, you’re on the right track. If it’s too acidic, a pinch of sugar or a splash of milk can balance it. A friend tried skipping the sugar once, and the result was a sharp, unpleasant tang that lingered long after the first bite.
The 5-Minute Rest That Changes Everything
After simmering, let the chili rest for five minutes off the heat. This pause allows the spices to settle and the flavors to intensify, giving the chili a richer profile. During this rest, the heat from the pot continues to work its magic, ensuring the beans are perfectly tender.
Topping Tactics
Toping the chili with fresh ingredients like cilantro, lime wedges, or a dollop of Greek yogurt can brighten the dish and add a refreshing contrast to the rich base. I’ve seen people use avocado slices, and the creamy texture pairs beautifully with the chili’s heat. Experiment with different toppings to find your personal favorite.
Storing Secrets
Chili tastes even better the next day because the flavors have more time to meld. Store leftovers in an airtight container in the fridge for up to five days. When reheating, add a splash of water or broth to prevent the chili from drying out. For a quick reheat, microwave on high for two minutes, stir, and then finish on the stove for a minute.
Creative Twists and Variations
This recipe is a playground. Here are some of my favorite ways to switch things up:
Mexican Fiesta Chili
Add a cup of corn tortillas, diced, and a handful of fresh cilantro. Stir in a tablespoon of cumin and a splash of lime juice. Serve with tortilla chips for a crunchy contrast.
Italian-Style Chili
Replace the chili powder with a teaspoon of Italian seasoning and add a handful of chopped basil. Swirl in a splash of red wine before simmering to deepen the flavor profile.
Smoky Chipotle Chili
Incorporate a tablespoon of chipotle in adobo sauce for a smoky heat. Pair with a drizzle of avocado crema for a creamy finish.
Vegan Chili
Swap the ground beef for a plant‑based crumbled tofu or a hearty lentil mix. Keep the rest of the ingredients unchanged for a satisfying, protein‑rich dish.
Low‑Carb Chili
Omit the corn and beans, and add extra diced zucchini and mushrooms. This version keeps the chili low in carbs while still delivering a flavorful bite.
Storing and Bringing It Back to Life
Fridge Storage
Cool the chili to room temperature, then transfer it to an airtight container. Store in the fridge for up to five days. When reheating, add a splash of water or broth to keep it from drying out. Stir well before serving.
Freezer Friendly
Portion the chili into freezer‑safe bags or containers, leaving a little headspace for expansion. Freeze for up to three months. Thaw overnight in the fridge before reheating on the stove or microwave.
Best Reheating Method
For the best texture, reheat on the stovetop over low heat. Add a tablespoon of water or broth, stir, and let it simmer until heated through. This gentle method preserves the chili’s silky consistency and prevents it from becoming rubbery.