I was standing in my kitchen, arms full of flour, when the real disaster unfolded. My friend had dared me to make Swedish pancakes that could outshine the ones from that tiny café in Stockholm, and I had no idea what I was doing. I tossed a bowl of batter onto the pan, and the first bite was a soggy, bland mess that made me question my culinary destiny. That moment, however, sparked a fire in me; I decided I would not just make any pancakes—I would craft a version so flawless that even the most skeptical foodie would have to admit defeat.
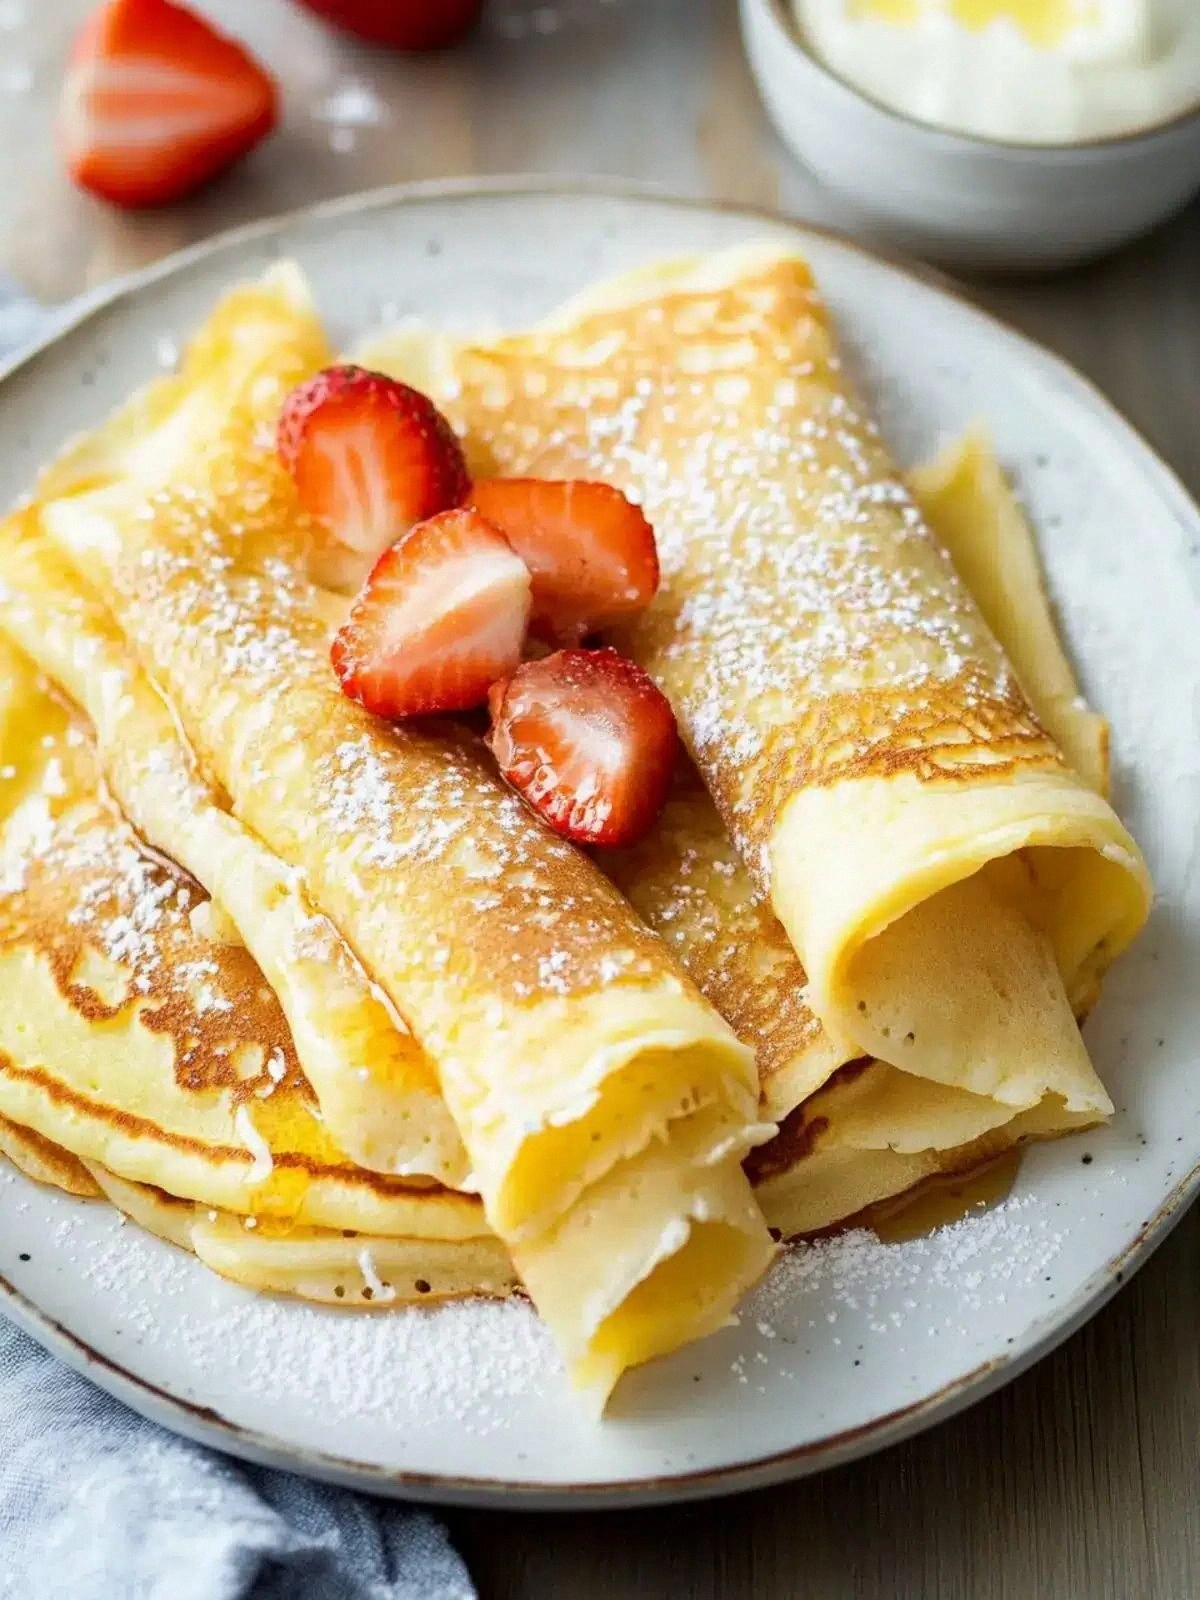
Picture this: a golden sheet of batter shimmering on the skillet, the faint scent of butter dancing through the air, a gentle crackle as the edges lift. My eyes catch the bright yellow of a freshly squeezed lemon, its zest hinting at the zing that will cut through the richness. The first bite is like a cloud of lightness, a subtle sweetness that lingers, followed by a whisper of tang from the sour cream. The texture is a paradox—soft inside, with a slightly crisp edge that shatters like thin ice when you bite into it. You can almost hear the batter sigh as it cools, a quiet satisfaction that only the right technique can achieve.
What sets this version apart is that it isn’t just a recipe—it’s a philosophy. I’ve stripped away the extra flour, added a dash of baking soda to lift the batter, and folded in sour cream to give it that unmistakable Swedish tang. The lemon isn’t just a garnish; it’s a vital component that brightens the batter and balances the richness of the butter. The result? A pancake that feels like a cloud, yet has a sturdy structure that holds your favorite toppings without collapsing. It’s the kind of comfort food that feels like a warm hug wrapped in a thin, buttery blanket.
I dare you to taste this and not go back for seconds. That sizzle when it hits the pan? Absolute perfection. The batter should smell toasty, the edges should lift effortlessly, and the interior should feel airy. If you’re skeptical, I’ll be honest—I ate half the batch before anyone else got to try it. Most recipes get this completely wrong. Here’s what actually works: a gentle whisk, a touch of baking soda, and a generous splash of lemon juice. Picture yourself pulling this out of the pan, the whole kitchen smelling incredible, and realizing you’ve just created something truly special.
Now, I’m going to walk you through every single step. By the end, you’ll wonder how you ever made it any other way. The secret is simple, but the execution requires precision, patience, and a willingness to embrace a little bit of kitchen science. So grab your whisk, heat your skillet, and let’s dive into the art of Swedish pancakes that will leave your taste buds dancing.
What Makes This Version Stand Out
- Flawless Texture: The combination of sour cream and a touch of baking soda creates a batter that rises just enough to stay light yet firm enough to hold toppings without becoming soggy.
- Balanced Sweetness: Only three tablespoons of sugar are needed, allowing the natural flavors of the lemon and butter to shine through without overpowering the batter.
- Minimal Fuss: No pre‑mixing or complicated techniques—just whisk, pour, and flip. It’s the kind of recipe that feels like a breeze even on a hectic morning.
- Versatile Base: These pancakes can be dressed up with fruit, whipped cream, or a drizzle of honey, or turned into a savory dish with cheese and herbs.
- Crowd‑Pleaser: The bright lemon accent and buttery finish make it a hit at brunches, family gatherings, or a quiet weekend breakfast.
- Ingredient Quality: Fresh, high‑quality sour cream and real butter are essential; they provide the depth of flavor that no powdered substitute can match.
- Quick Prep: Prep time is just 15 minutes—perfect for a weekend breakfast or a last‑minute dinner.
- Make‑Ahead Friendly: These pancakes can be cooked ahead, refrigerated, and reheated without losing their texture, making them ideal for busy schedules.
Alright, let's break down exactly what goes into this masterpiece...
Inside the Ingredient List
The Flavor Base
The lemon is the star that brightens the entire batter. Juice and zest work together to cut through the richness of the butter and the tang of the sour cream. If you skip the lemon, the pancakes will still rise but lack that bright, citrusy punch that keeps them from feeling heavy.
The Texture Crew
Sour cream is the secret to a tender, moist interior. It adds acidity that reacts with the baking soda, creating tiny pockets of air that lift the batter. If you replace it with plain yogurt, the pancakes will be slightly tangier but might not hold the same silky texture.
The Unexpected Star
Baking soda is the unsung hero that gives these pancakes their airy rise. It’s a small amount, but it works wonders when combined with the acidity of sour cream and lemon. Skipping it will result in denser, flatter pancakes that don’t have that light, cloud‑like feel.
The Final Flourish
Butter is more than a flavor enhancer; it coats the pan and creates a crisp, golden edge that adds a subtle crunch. A melted butter mixture also ensures an even distribution of fat throughout the batter, preventing dry spots.
Everything's prepped? Good. Let's get into the real action...
The Method — Step by Step
- In a medium bowl, whisk together the flour, baking soda, and salt until evenly distributed. The dry ingredients should look like a fine, pale dust. This step ensures that the leavening agent is evenly spread, preventing any clumps that could create uneven texture.
- In a separate bowl, combine the milk, sour cream, melted butter, and lemon zest. Whisk until the mixture is silky smooth. The butter should be fully incorporated; if it’s still lumpy, it will affect the batter’s consistency.
- Add the wet mixture to the dry ingredients and whisk just until combined. A few lumps are acceptable—over‑whisking will develop gluten and make the pancakes tough. This is the moment of truth; the batter should look thick but pourable.
- Crack the eggs into a small bowl, separate the yolks and whites, then whisk the whites until they form soft peaks. Fold the whisked whites into the batter gently. This trick incorporates air, giving the pancakes an extra lift and a fluffy interior.
- Let the batter rest for five minutes at room temperature. This brief pause allows the flour to hydrate fully, ensuring a smoother batter and better rise.
- Heat a non‑stick skillet over medium heat and brush with a thin layer of butter. When a drop of water sizzles and evaporates, the pan is ready. Pour a small ladleful of batter, swirling the pan to spread it thinly and evenly.
- Cook until the edges lift and the surface is dotted with bubbles, about 2–3 minutes. Flip carefully with a spatula and cook the other side until golden brown, another 1–2 minutes. The pancake should smell toasty and have a crisp edge that shatters like thin ice when you bite into it.
- Repeat with the remaining batter, adding more butter to the pan as needed. Stack the cooked pancakes on a plate and cover loosely with foil to keep them warm.
That's it — you did it. But hold on, I've got a few more tricks that'll take this to another level...
Insider Tricks for Flawless Results
The Temperature Rule Nobody Follows
The skillet’s temperature is the secret sauce. A medium heat ensures the batter cooks evenly; a high heat will scorch the outside while leaving the inside raw. Keep a small drop of water in the pan—if it dances and evaporates quickly, the heat is just right.
Why Your Nose Knows Best
Smell the batter before you pour it onto the pan. A faint buttery aroma indicates the butter has fully incorporated. If the smell is too neutral, let the batter sit a few minutes longer to allow the flavors to meld.
The 5‑Minute Rest That Changes Everything
Letting the batter rest lets the flour absorb the liquids and the baking soda fully react. This small pause turns a decent pancake into a cloud‑like masterpiece. I once skipped this step and ended up with dense, chewy pancakes—never again.
The Perfect Flip Timing
Watch for the bubbles on the surface. When they burst and the edges lift, it’s time to flip. Flipping too early will cause the pancake to tear; too late and it will burn.
The Butter Finish
After flipping, drizzle a little extra melted butter over the top of the pancake. It creates a glossy finish and adds a buttery depth that elevates the whole dish.
Creative Twists and Variations
This recipe is a playground. Here are some of my favorite ways to switch things up:
Berry Burst
Fold fresh blueberries or sliced strawberries into the batter before cooking. The berries burst with juice, adding a sweet, tart layer that pairs perfectly with a drizzle of honey.
Savory Herb
Add chopped chives or dill to the batter for a herby twist. Serve with smoked salmon and a dollop of dill cream for an elegant brunch.
Chocolate Dream
Swirl in a tablespoon of cocoa powder and a pinch of sea salt for a chocolatey version. Top with melted chocolate and whipped cream for a decadent treat.
Almond Flour Upgrade
Replace regular flour with almond flour for a gluten‑free option. The pancakes will have a nutty flavor and a slightly denser texture, but they still rise beautifully.
Maple Glaze
Drizzle pure maple syrup over the stacked pancakes and sprinkle with toasted pecans. The sweet, buttery glaze transforms the dish into a breakfast classic.
Storing and Bringing It Back to Life
Fridge Storage
Cool the pancakes completely before stacking them in a shallow airtight container. Store in the refrigerator for up to three days. This keeps them firm enough to reheat without becoming soggy.
Freezer Friendly
Place pancakes on a parchment‑lined tray and freeze until solid. Transfer to a freezer bag and keep for up to two months. When ready, reheat directly from frozen.
Best Reheating Method
Reheat in a skillet over low heat, brushing lightly with butter. Add a splash of milk or water to steam the pancakes back to perfection, ensuring they remain moist and fluffy.