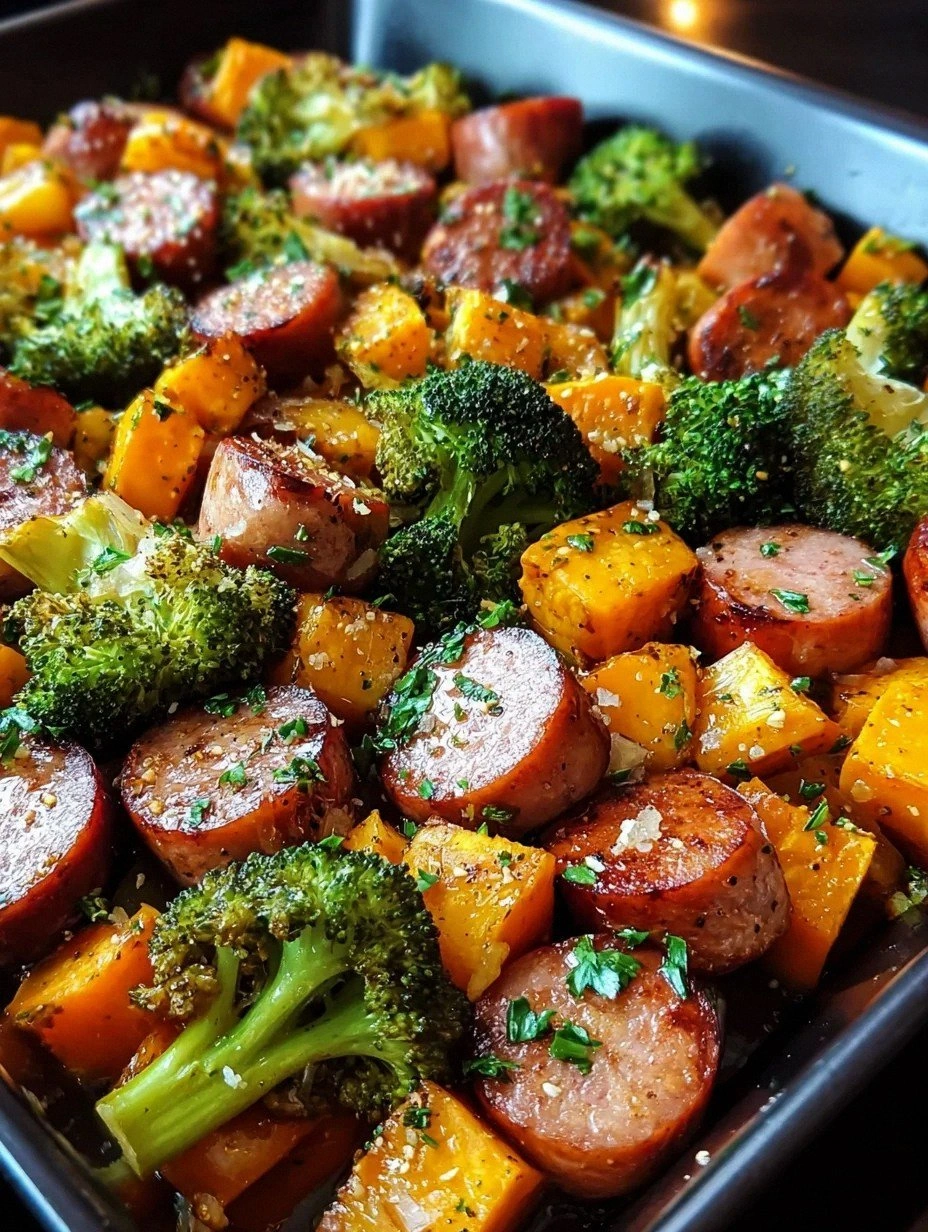
I remember the night the kitchen turned into a battlefield. I was trying to impress a group of friends with a quick dinner, and I decided to fire up the grill for something that sounded fancy but was actually simple: Garlic Parmesan Chicken Skewers. The moment the first bite hit my palate, I realized I had stumbled onto a flavor revelation. The buttery, garlicky coating clung to the tender chicken like a second skin, and the Parmesan melted into a glossy, nutty glaze that made every forkful feel like a gold‑plated treat. The sizzling sound as the skewers hit the grill was a soundtrack that told me I was on the right track.
If you’ve ever tried a recipe that promised “easy” but ended up feeling like a chore, you’ll know the frustration of bland, unevenly cooked skewers. I’ve spent countless evenings wrestling with over‑cooked chicken or under‑seasoned bites that left me reaching for extra sauce. What I discovered with this version is that the secret lies in a few simple tweaks that elevate everything—texture, flavor, and presentation. The result? A dish that tastes like it’s been crafted in a Michelin‑star kitchen, yet can be whipped up in under an hour.
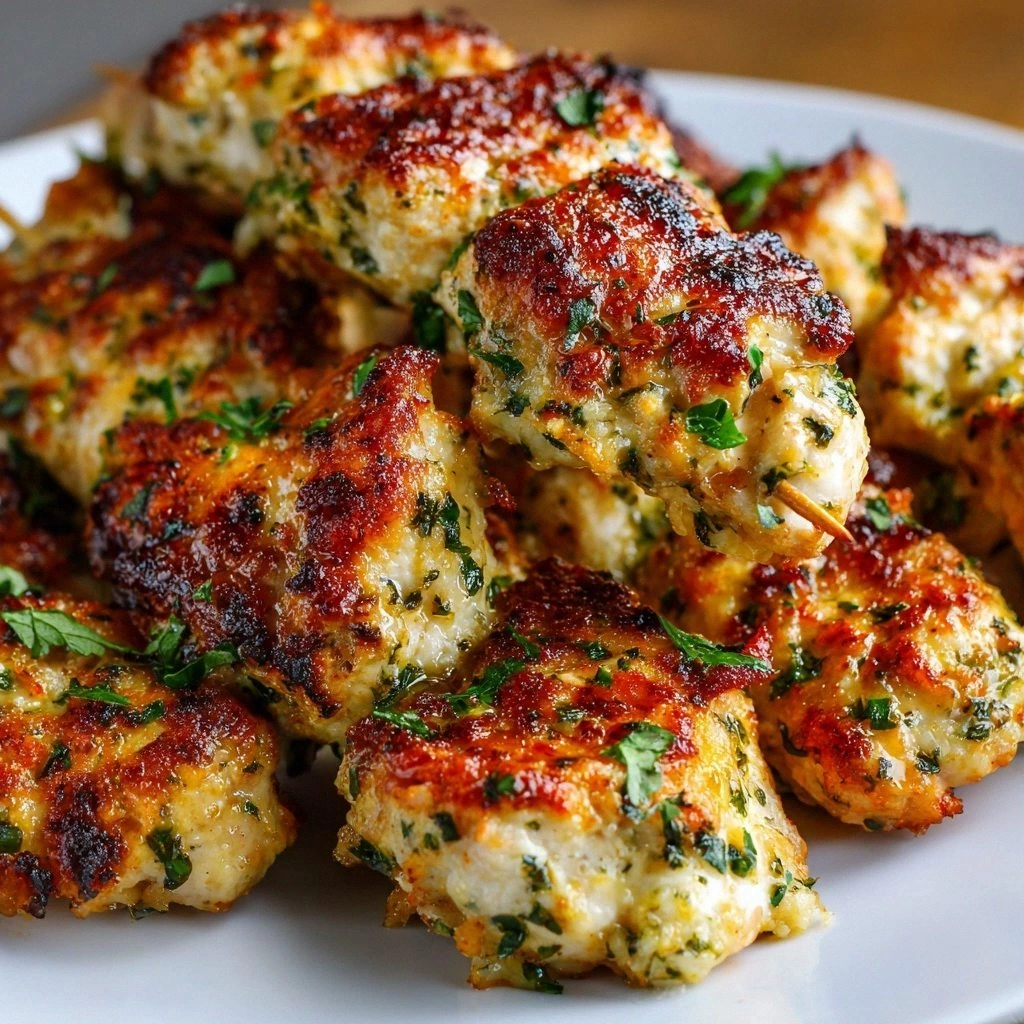
Picture yourself pulling these skewers out of the grill, the air thick with the aroma of garlic and fresh herbs, the golden crust gleaming under the kitchen lights. The first bite is a burst of savory, slightly nutty Parmesan that coats the tongue, followed by the juicy, perfectly cooked chicken that’s still juicy on the inside. The subtle hint of lemon zest lifts the richness, while the crispy breadcrumb exterior adds a satisfying crunch that shatters like thin ice. Every element works together like a well‑orchestrated symphony.
I dare you to taste this and not go back for seconds. This is hands down the best version you’ll ever make at home. Most recipes get this completely wrong; they either over‑marinate, under‑season, or use the wrong type of chicken. Here’s what actually works: a balanced blend of garlic, Parmesan, and fresh herbs; a quick sear that locks in juices; and a final touch of lemon that brightens the dish. If you’ve ever struggled with this, you’re not alone—and I’ve got the fix. Stay with me here—this is worth it.
What Makes This Version Stand Out
- Taste: The marriage of garlic and Parmesan creates a flavor profile that is both bold and comforting. The Parmesan is grated fresh, providing a subtle umami punch that elevates each bite.
- Texture: The panko breadcrumbs give a light, airy crunch that contrasts perfectly with the juicy chicken. The coating sets just right—golden on the outside, tender on the inside.
- Simplicity: With just a handful of ingredients and a straightforward marination, you can go from prep to plate in less than 45 minutes. No complicated sauces or advanced techniques required.
- Uniqueness: The addition of lemon zest and fresh herbs gives a bright, fresh note that sets this recipe apart from the usual garlicky chicken skewers.
- Crowd Reaction: Friends and family rave about the crispy exterior and the melt‑in‑your‑mouth chicken. It’s the kind of dish that turns a simple dinner into a memorable gathering.
- Ingredient Quality: Using fresh, high‑quality Parmesan and real garlic makes a noticeable difference. The quality of the chicken also matters—boneless, skinless breast ensures even cooking.
- Cooking Method: Quick searing on the grill locks in juices and creates a caramelized crust without the need for a heavy skillet.
- Make‑Ahead Potential: The marination can be done a day ahead, and the skewers can be pre‑skewered and frozen for an effortless meal on busy nights.
Alright, let's break down exactly what goes into this masterpiece...
Inside the Ingredient List
The Flavor Base
The heart of this recipe is its marinade. Olive oil, minced garlic, and fresh lemon zest mingle to create a fragrant, savory base. The oil not only keeps the chicken moist but also helps the Parmesan adhere, forming that irresistible golden crust. If you’re short on time, a splash of soy sauce can add depth, but stick to the original for that classic taste.
The Texture Crew
Panko breadcrumbs are the secret to that coveted crunch. Their airy, flaky structure crisps up beautifully on the grill, offering a satisfying bite that contrasts the tender interior. If you can’t find panko, regular breadcrumbs will work, but you’ll miss that lightness. A pinch of flour can also help the coating stick, especially if you’re using a thicker cut of chicken.
The Unexpected Star
Fresh herbs—parsley, basil, and a hint of oregano—add a bright, aromatic layer that lifts the richness of the Parmesan. These herbs bring a green, almost citrusy note that keeps the dish from feeling heavy. If you’re craving a smoky twist, add a touch of smoked paprika to the breadcrumb mix.
The Final Flourish
A dash of lemon juice and a sprinkle of sea salt finish the flavor profile, balancing the richness and giving a subtle tang. The salt is critical; it draws out moisture from the chicken, allowing the coating to adhere better. Don’t skimp on the salt—taste as you go, and remember, you can always add more later.
Everything's prepped? Good. Let's get into the real action...
The Method — Step by Step
- Prepare the Marinade: In a medium bowl, whisk together olive oil, minced garlic, lemon zest, dried oregano, dried basil, salt, and pepper until well combined. This mixture should have a silky, aromatic consistency. Add the chicken cubes and toss to coat evenly. Cover the bowl with plastic wrap and let it marinate in the refrigerator for at least 30 minutes—ideally 2 hours—to allow the flavors to penetrate.
- Coat with Breadcrumbs: In a shallow dish, combine the panko breadcrumbs with grated Parmesan, a pinch of salt, and freshly ground black pepper. Gently roll each marinated chicken piece in the breadcrumb mixture, pressing lightly so the crumbs adhere. The coating should be thick enough to hold together but not so heavy that it clumps.
- Skewer the Chicken: Thread 3-4 chicken pieces onto each skewer, leaving a little space between each bite to ensure even cooking. If using wooden skewers, soak them in water for 15 minutes beforehand to prevent burning. Metal skewers are fine as long as they’re sturdy.
- Preheat the Grill: Heat your grill to medium‑high (around 375°F to 400°F). Oil the grill grates lightly with a paper towel dipped in oil to prevent sticking. A clean grill ensures a beautiful sear and prevents the skewers from tearing apart.
- Grill the Skewers: Place the skewers on the grill, turning every 2–3 minutes. The cooking time should be about 10–12 minutes total, or until the chicken reaches an internal temperature of 165°F. The coating should be crisp and golden, and the edges should start pulling away from the skewer slightly.
- Finish with Fresh Herbs: Right before serving, sprinkle the skewers with chopped fresh parsley and basil. The herbs add a burst of color and a fresh, slightly peppery flavor that balances the richness.
- Serve Immediately: Plate the skewers on a warm platter. A drizzle of lemon juice or a small bowl of marinara for dipping can elevate the dish. The key is to serve them hot, while the crust is still crisp and the interior juicy.
- Optional Side: Pair the skewers with a simple arugula salad tossed in lemon vinaigrette, or serve them alongside grilled vegetables for a complete meal. The bright, peppery salad cuts through the richness and keeps the dish balanced.
That's it — you did it. But hold on, I've got a few more tricks that'll take this to another level. Stay tuned for insider tips that will ensure your skewers are always perfect.
Insider Tricks for Flawless Results
The Temperature Rule Nobody Follows
Many cooks think a high heat is always better, but that can burn the coating before the chicken cooks through. Aim for a steady medium‑high temperature (375°F to 400°F). This allows the exterior to caramelize while the interior stays juicy. If your grill has hot spots, rotate the skewers every few minutes to even out the heat.
Why Your Nose Knows Best
Smell is a powerful indicator of doneness. When the chicken starts to sizzle and the garlic releases a warm, nutty aroma, it’s a sign the coating is caramelizing. If the smell is sharp or metallic, the grill may be too hot. Trust your nose to guide you to the perfect sear.
The 5-Minute Rest That Changes Everything
After removing the skewers from the grill, let them rest for five minutes. This allows the juices to redistribute, keeping the meat moist. A short rest also lets the coating set, making it easier to handle and less likely to fall off.
Use a Marinade Mixer
A small whisk or fork can help you evenly distribute the garlic and herbs throughout the chicken. A well‑mixed marinade ensures every bite is flavorful, not just the surface. If you’re in a hurry, a zip‑lock bag with a gentle shake works as well.
Don’t Skip the Breadcrumbs
Skipping breadcrumbs can lead to a soggy coating that falls apart. The breadcrumbs not only provide crunch but also help the Parmesan stick. If you’re watching carbs, use a low‑carb breadcrumb alternative or a crushed almond flour mix.
Keep the Skewers Dry
If the chicken pieces are wet, the coating will not adhere properly. Pat the chicken dry with paper towels before marinating. This step ensures a crisp, golden crust.
Creative Twists and Variations
This recipe is a playground. Here are some of my favorite ways to switch things up:
Spicy Cajun Chicken Skewers
Swap the oregano and basil for Cajun seasoning, and add a splash of hot sauce to the marinade. The result is a fiery, aromatic dish that pairs well with a cooling yogurt dip.
Herb‑Infused Greek Skewers
Replace the Parmesan with crumbled feta and add oregano, mint, and oregano to the breadcrumb mix. Serve with a tzatziki sauce for a Mediterranean twist.
Smoky Chipotle Skewers
Incorporate chipotle powder into the breadcrumb coating and finish with a smoky BBQ glaze. The chipotle adds depth and a subtle heat that complements the garlic.
Vegetarian Version
Use marinated tofu cubes or tempeh instead of chicken. The tofu will absorb the marinades, and the breadcrumb coating will give it a satisfying crunch.
Breakfast Skewers
Add diced potatoes and a dash of paprika to the chicken mixture. Serve with a side of scrambled eggs for a hearty breakfast or brunch.
Low‑Carb Skewers
Replace panko with almond flour and use a low‑fat Parmesan alternative. This version keeps the flavor profile but cuts carbs significantly.
Storing and Bringing It Back to Life
Fridge Storage
Store leftover skewers in an airtight container for up to 3 days. Keep the coating crisp by placing a paper towel at the bottom of the container to absorb excess moisture. Reheat in a toaster oven or skillet to revive the crunch.
Freezer Friendly
Wrap individual skewers tightly in plastic wrap and place them in a freezer bag. They’ll keep for up to 2 months. Thaw overnight in the refrigerator before reheating.
Best Reheating Method
The secret to bringing the coating back to life is a quick sear. Warm a skillet over medium heat, add a splash of olive oil, and place the skewers in for 2 minutes per side. A tiny splash of water in the skillet will create steam, keeping the chicken juicy while the coating crisps.