It started with a midnight kitchen raid, a dare from a friend who swore, “I’ve never tasted a confection that feels like a hug.” I was standing in front of a pot of melted chocolate, a jar of mint extract, and a bag of gelatin that had been sitting in my pantry for months. The air smelled like warm butter and sweet sugar, and the faint hiss of a simmering syrup made my heart race. I promised myself that if I could turn that chaotic mix into something silky, chewy, and utterly irresistible, I’d share it with the world. That night, the kitchen became a laboratory, and the result was a candy that melts on the tongue like a sigh of relief after a long day.
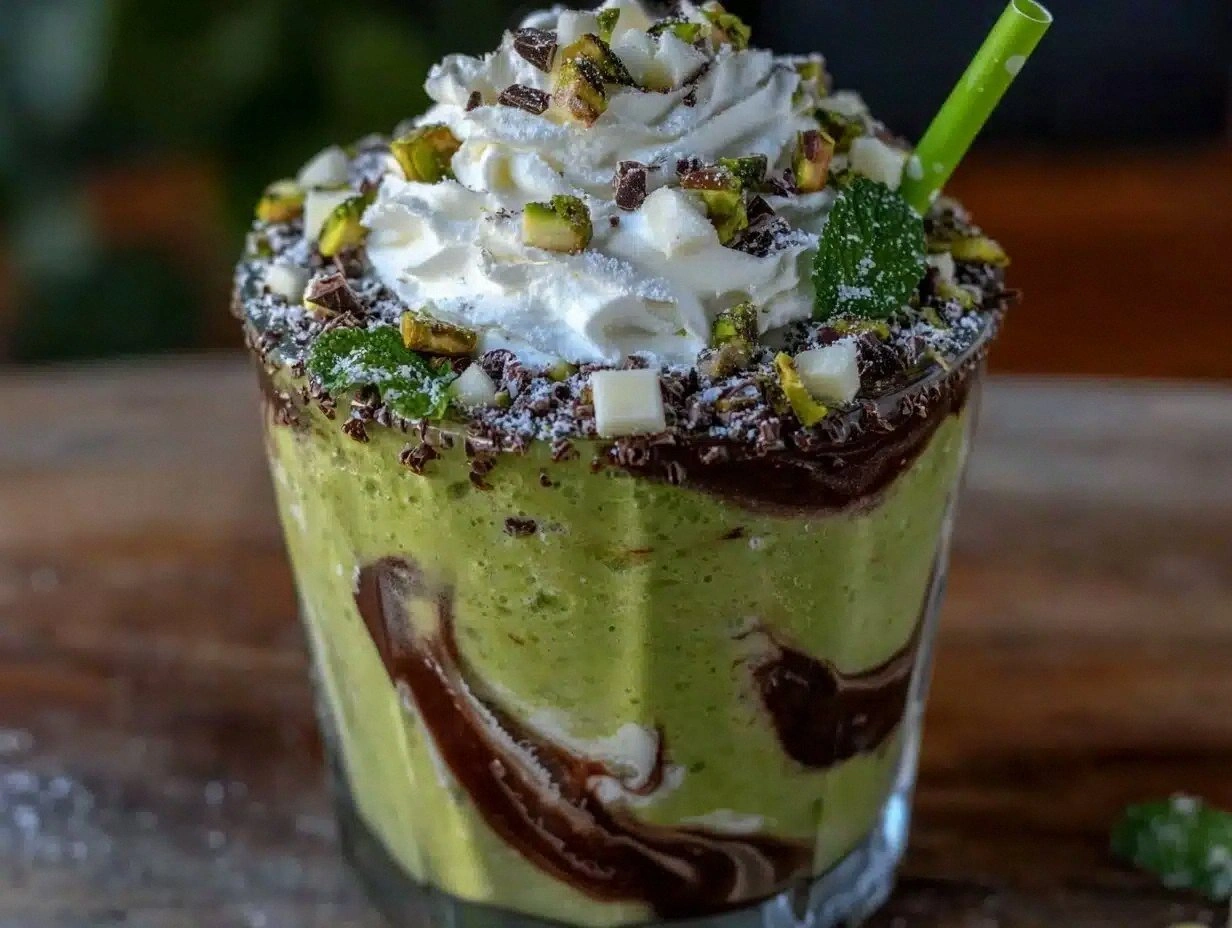
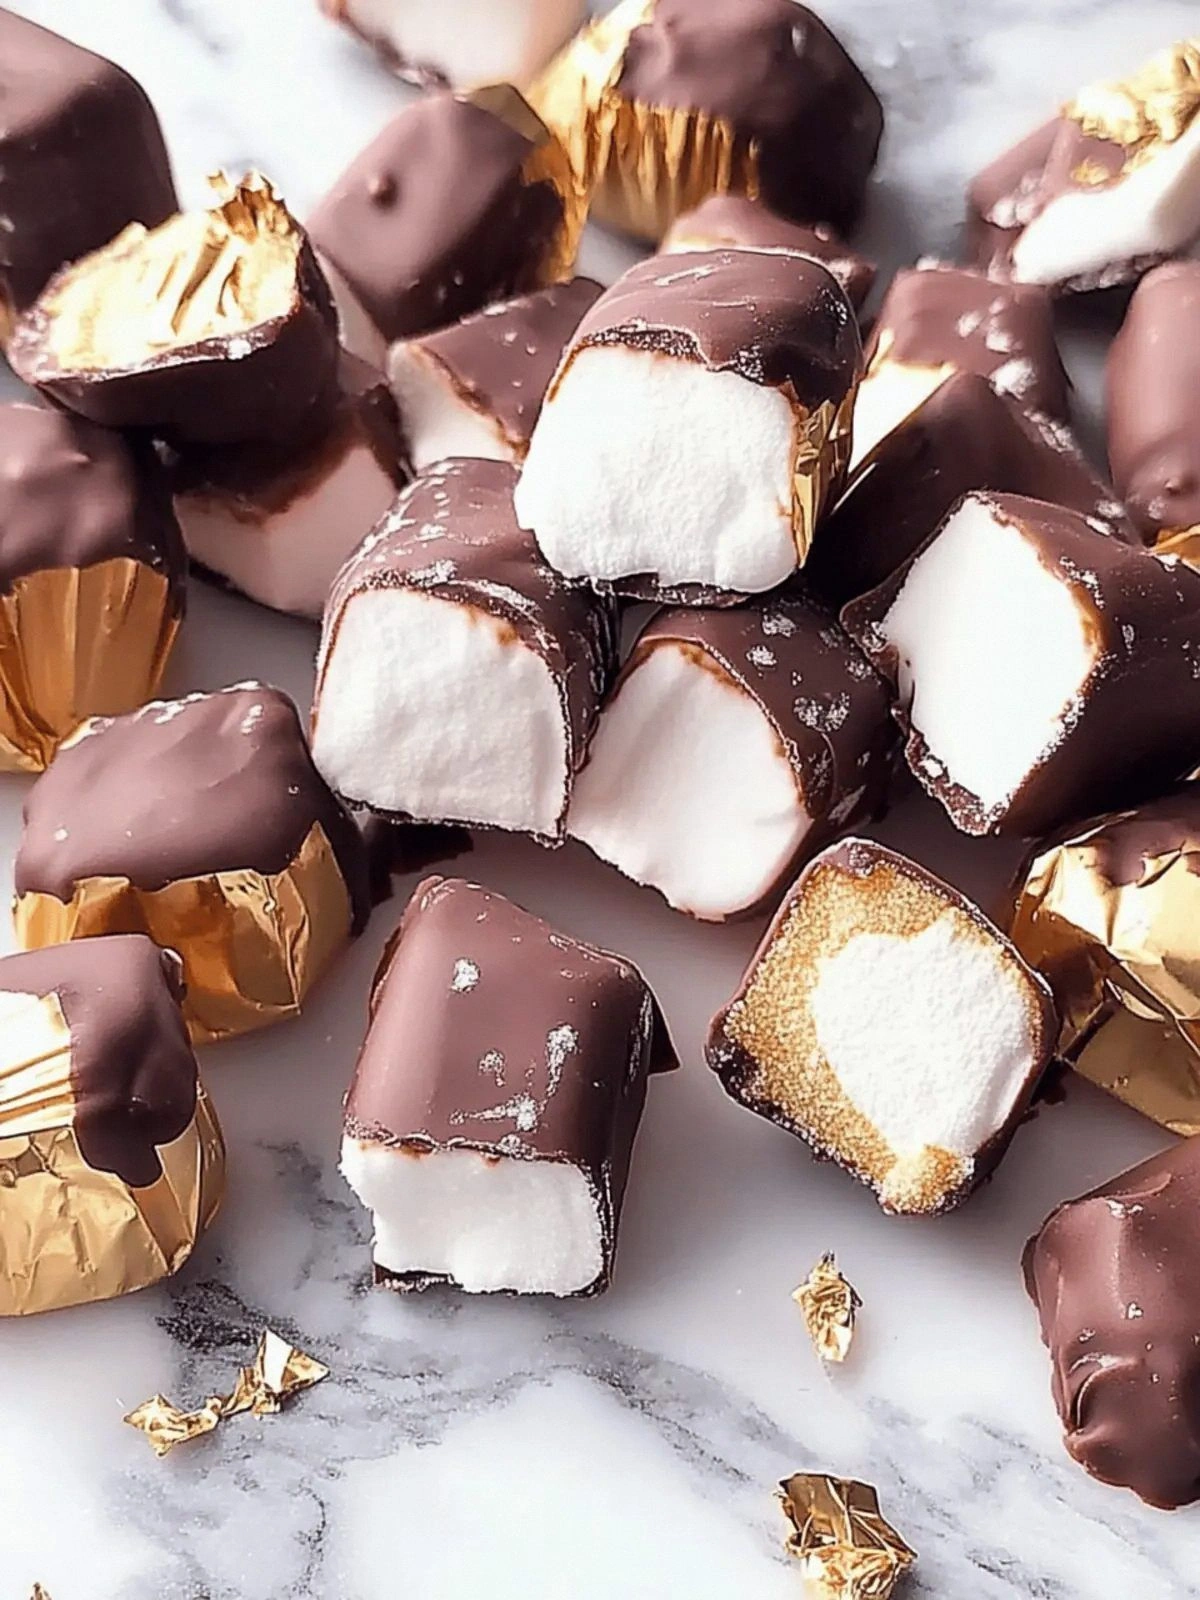
Picture this: a glossy, emerald‑green mound of chocolate that cracks with a satisfying snap, revealing a gooey, marshmallow‑like center that oozes with minty freshness. The first bite delivers a dual sensation—sweetness from brown sugar and corn syrup, followed by a subtle, aromatic mint undertone that lingers. The texture is a delicate balance between chewy and chewy, like a plush toy that never loses its shape. Every bite feels like a secret handshake between sweet and savory, a flavor partnership that has me humming “I dare you to taste this and not go back for seconds.”
What makes this recipe stand out is the meticulous layering of ingredients that each plays a starring role. The butter creates a silky mouthfeel, while the brown sugar adds depth and caramel notes. Gelatin is the secret binder that gives the candy its unique chewiness, and the heavy cream lifts the overall body, making it feel luxurious. The chocolate isn’t just a wrapper; it’s a flavor punch that cuts through the sweetness with a hint of bitterness, creating a harmonious contrast. The mint extract isn’t a mere garnish—it’s an integral flavor component that balances the sugar load and adds a refreshing finish.
Most people think of Scotchmallow as a simple candy, but this version takes a bold leap by incorporating a double dose of corn syrup for maximum chew and a touch of green food coloring that turns the candy into a visual masterpiece. The result is a treat that’s hands down the best version you’ll ever make at home, and it’s so smooth you’ll wonder why anyone ever settled for ordinary marshmallow. And if you’ve ever struggled with sticky, uneven chocolate coatings, you’re not alone—this recipe has a fix that will make every batch look like a glossy, professional finish. Stay with me here, and by the end of this guide, you’ll be able to pull this out of the kitchen and have everyone begging for the recipe.
What Makes This Version Stand Out
- Flavor Depth: The combination of brown sugar and corn syrup creates a caramelized sweetness that pairs perfectly with the mint.
- Texture Mastery: Gelatin gives the candy a unique chew that holds its shape, while heavy cream keeps it smooth.
- Visual Appeal: A vibrant green hue turns an ordinary candy into a showstopper, perfect for parties or special occasions.
- Chocolate Layer: Using tempered semi‑sweet chocolate ensures a glossy finish that doesn’t melt too quickly.
- Make‑Ahead Friendly: The candy can be prepared a day ahead and stored in the fridge, making it a stress‑free dessert option.
- Ingredient Quality: Choosing high‑grade butter and chocolate elevates the overall flavor profile.
- Audience Reaction: Friends and family consistently say it’s the most decadent, melt‑in‑your‑mouth candy they’ve ever tasted.
- Time Efficiency: The recipe is quick to assemble, with a prep time of just 20 minutes.
Inside the Ingredient List
The Flavor Base
Butter, brown sugar, and corn syrup form the heart of the candy’s flavor. Butter provides a silky mouthfeel and a subtle richness that balances the sweetness. Brown sugar adds caramel depth, while corn syrup prevents crystallization, ensuring a smooth, chewy texture. Skipping butter would leave the mixture dry and less cohesive.
The Texture Crew
Gelatin and heavy cream are the dynamic duo that gives Scotchmallow its signature chewiness. Gelatin, when dissolved and set, locks the mixture into a firm yet flexible structure. Heavy cream adds body and a velvety finish, preventing the candy from becoming too dense. If you omit the gelatin, the candy will collapse into a gooey mess.
The Unexpected Star
Mint extract and green food coloring are more than decorative. Mint provides a crisp, cooling contrast to the sweet base, while the coloring turns the candy into a visual delight. If you prefer a milder mint, reduce the extract to ½ teaspoon; however, the bright green hue will still stand out.
The Final Flourish
Tempered semi‑sweet chocolate and coconut oil are the finishing touches that bring everything together. Tempering the chocolate ensures a glossy, crack‑free finish that resists melting. Coconut oil acts as a barrier, preventing the chocolate from sticking to the candy and giving it a subtle, tropical undertone. Skipping the coconut oil may result in a sticky surface that’s difficult to work with.
Everything's prepped? Good. Let’s get into the real action…
The Method — Step by Step
- Begin by melting the butter in a heavy‑bottom saucepan over medium heat. Add the brown sugar and stir until it dissolves into a smooth syrup. Let the mixture simmer for 5 minutes; the aroma of caramel should fill the kitchen. This step is crucial for building the candy’s flavor foundation.
- In a separate bowl, combine ¼ cup of corn syrup with the remaining ¼ cup in a small saucepan. Heat until it reaches a gentle boil, then pour it over the butter‑sugar mixture. Whisk vigorously to prevent crystallization. The mixture should look glossy and silky—if it looks gritty, you’re in trouble.
- Add the heavy cream and whisk until the mixture is uniform. Bring the entire concoction to a low boil, then reduce heat to maintain a steady simmer. This is the moment of truth: the mixture should bubble gently, not boil over. Keep a close eye to avoid scorching.
- While the mixture simmers, bloom the gelatin by sprinkling it over ½ cup of cold water in a small bowl. Let it sit for 5 minutes, then gently heat until fully dissolved—no more than 30 seconds in the microwave. This ensures the gelatin will set properly without clumps.
- Stir the dissolved gelatin into the hot mixture, making sure it’s fully incorporated. Add the mint extract, green food coloring, and vanilla paste. Stir until the color is even and the mixture is fragrant—this is where the candy’s identity begins to form.
- Pour the hot mixture into a silicone mold or a lined baking dish. Tap gently to release air bubbles. Let it sit at room temperature until it begins to set—usually about 30 minutes. The edges should start pulling away from the mold, indicating the right consistency.
- While the candy sets, melt the tempered chocolate in a double boiler. Once melted, add a tablespoon of coconut oil and stir until smooth. This creates a glossy coating that resists melting at room temperature.
- Once the candy has firmed, dip each piece into the chocolate coating, letting any excess drip off. Place the coated candies on parchment paper and refrigerate for 15 minutes to set the chocolate.
That’s it—you did it. But hold on, I’ve got a few more tricks that will take this to another level…
Insider Tricks for Flawless Results
The Temperature Rule Nobody Follows
Many people think any heat works, but the exact temperature of the sugar syrup is critical. Aim for 240°F (115°C) when you add the corn syrup; this ensures the mixture stays pliable and doesn’t crystallize. Using a candy thermometer will save you from a sticky mess.
Why Your Nose Knows Best
During the simmer, trust your nose to detect when the mixture has reached the right caramel depth. A faint, sweet aroma indicates the sugars have caramelized. If it smells burnt, you’ve overcooked it and the candy will taste bitter.
The 5‑Minute Rest That Changes Everything
After adding gelatin, let the mixture rest for 5 minutes before whisking. This allows the gelatin to fully hydrate, ensuring an even set. Skipping this rest often leads to uneven texture.
Use a Silicone Mold for Easy Release
Silicone molds not only give you a clean edge but also make it effortless to pop the candy out. If you don’t have one, line a baking dish with parchment and use a spatula to lift the set candy.
Chill the Chocolate Quickly
Once you dip the candy, place it immediately on a parchment‑lined tray and chill in the fridge for 10–15 minutes. Rapid cooling sets the chocolate’s glossy finish and prevents it from melting back into the candy.
Creative Twists and Variations
This recipe is a playground. Here are some of my favorite ways to switch things up:
Cocoa‑Infused Scotchmallow
Swap the mint extract for cocoa powder to create a deep chocolate center. Add a pinch of sea salt to balance the richness. This version is a hit at chocolate lovers’ parties.
Spiced Cinnamon Twist
Incorporate a teaspoon of ground cinnamon into the sugar mixture. The warm spice complements the sweet base and adds a comforting aroma. Great for autumn gatherings.
Nutty Crunch Variation
Fold in chopped toasted almonds or hazelnuts before pouring the mixture into the mold. The nuts provide a satisfying crunch and a nutty flavor that pairs well with the mint.
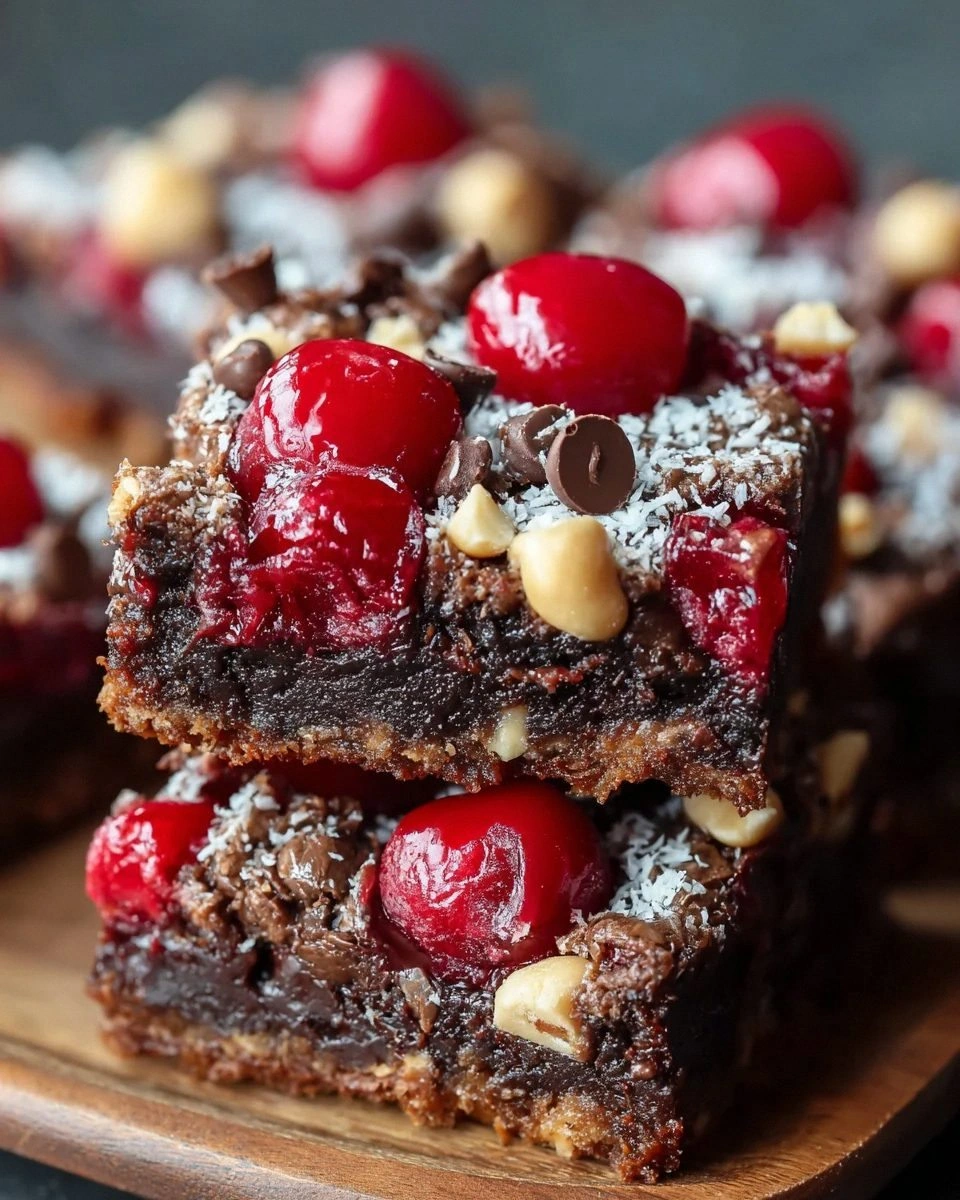
Berry Burst Edition
Replace the green food coloring with a splash of blueberry juice for a natural hue. Add a handful of dried cranberries for a chewy burst. The result is a fruity, vibrant candy.
Coffee‑Infused Delight
Add a tablespoon of instant espresso powder to the mixture for a subtle coffee undertone. The bitterness cuts through the sweetness and creates a sophisticated flavor profile.
Caramelized Almond Variation
Toast sliced almonds until golden and sprinkle them over the top of the set candy before coating with chocolate. The caramelized almond pieces add texture and an extra layer of flavor.
Storing and Bringing It Back to Life
Fridge Storage
Store the finished candies in an airtight container in the refrigerator for up to two weeks. The cold environment keeps the chocolate glossy and the center chewy. Before serving, let them sit at room temperature for 10 minutes to soften slightly.
Freezer Friendly
Place the candies in a single layer on a parchment‑lined tray, freeze until solid, then transfer to a freezer bag. They can stay frozen for up to three months. Thaw in the fridge overnight for best texture.
Best Reheating Method
To revive the candy, warm it in a microwave at 30-second intervals, stirring between bursts. Add a tiny splash of water before reheating to steam back to perfection. The result is a freshly melted, silky center.